
| Yew Dell Botanical Gardens
Now that we’re officially in summer, your tomatoes all staked and suckered, hedges properly trimmed and coiffed, it’s time to turn attention to hardscape.
It’s been said that you can have a very good garden consisting of all plants but you can’t have a great garden without hardscape, and I’d tend to agree. As much of a plant geek as I am, even I have to admit that an artfully crafted stone wall, bluestone terrace or water feature adds a touch and bit of contrast that, rather than taking away from the impact of plants, accentuates the finer features of the green bits of the garden.
And a good place to start on hardscape is with your paths.
Like most good hardscape features, paths serve both functional and aesthetic purposes in the garden. At its base level, a good path simply provides safe and stable footing to get you from here to there. When positioned just so, it can also serve as an essential design feature, leading you visually from one design element to the next, providing a sense of discovery and even slowing your pace to encourage detailed observation as you wander through the garden.
But no matter the purpose of your path, it’s only successful if it is built correctly and with the long term use in mind. Hastily built or poorly supported paths can become a maintenance headache at the least and at the worst, can be downright dangerous.
So here are a few tips to help you get the most out of your new path project.
What materials should I use for a garden hardscape path?
There’s four main types of pavers or materials you should use when building a garden path:
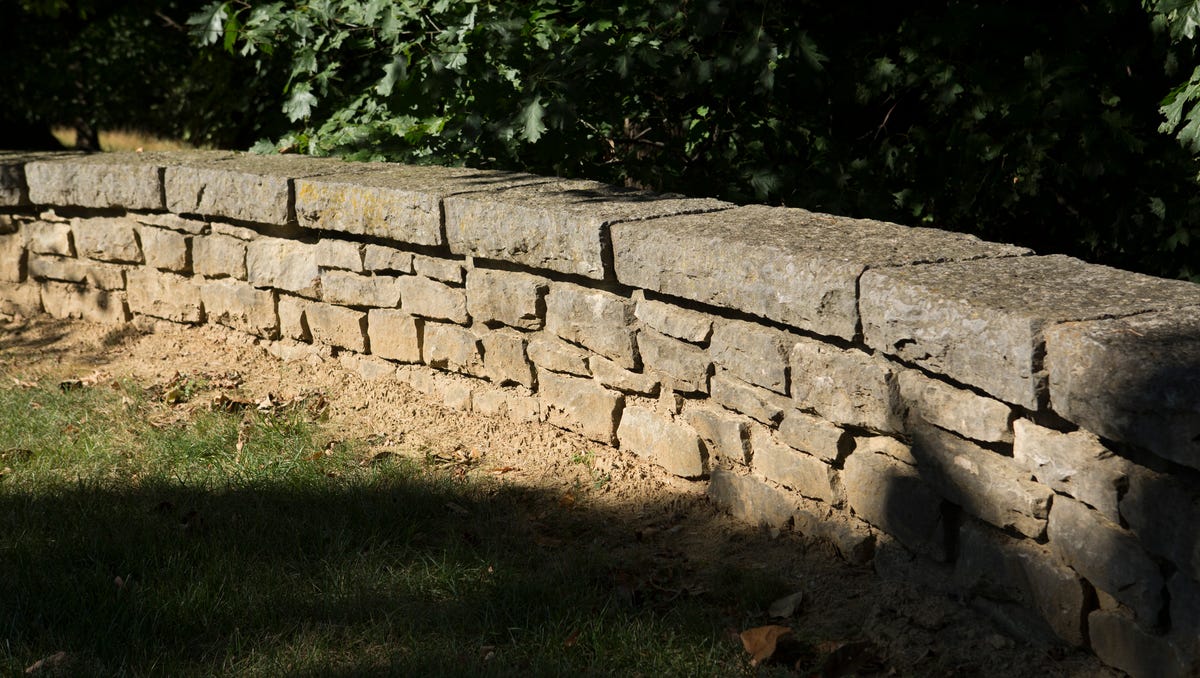
Natural stone: Whether you want the formal look of square/rectangular cut stone or the more relaxed look of a split surface and random shapes, limestone, bluestone and sandstone are among the most common and useful choices. They offer numerous color/shade choices, sizes and design options. They tend to not be slippery when wet and are easy to maintain. They are not particularly strong, though, so you need a very stable base. Keep in mind they are not great choices for driveways unless supported by a generous concrete sub layer.
You may like: Try these 5 tips to help your garden survive the scorching heat
Cast Stone: Not as common in the do-it-yourself category, cast limestone path materials are more often found on high end architectural and commercial projects. They are available in a dizzying array of patterns and can be matched to an equally diverse list of other architectural features such as urns, fountains, walls, etc.
Attractive? yup But cheap they ain’t.
Precast Concrete Pavers: For ease of installation and long term maintenance combined with tons of shape and color options, concrete pavers are hard to beat. They offer excellent footing, ease of installation and tremendous strength. Properly installed, you can literally land a 747 on this stuff. Some people find the look a bit too commercial for the garden but there are many tumbled pavers — the cast pavers are literally rolled in a large drum to soften the edges — that give a bit more of an aged garden feel.
Packed Aggregate/Gravel: Lots of options here from rather utilitarian crushed limestone of various sizes to pea gravel. On the plus side, relative to the above options, gravel paths are easier and less expensive to install. They can also offer a less formal, easy going look in the garden. On the down side, they don’t provide the same secure footing. They are also useless on any kind of a slope where one good Kentucky thunder storm can wash your path out into the lawn or down the street.
What materials should I avoid when building a garden hardscape path?
That pile of old clay bricks left over from a renovation project… forget it. They are way too slippery when wet and seem to be the best recipe for growing moss and algae. Same with that shiny slate. It’s brittle and incredibly slippery when wet.
You may like: From potting soil to mixed planting, 5 tips to get the most out of your container plants
How to build a proper base on a garden hardscape path
No matter which of the above materials you choose, they all need a good, solid base. Inadequate base materials and preparation can lead to paths that disappear into the earth and stones that wobble, twist and otherwise lead to domestic disharmony, let alone a sprained ankle or two. Sure, it’s easy to cut out a square of sod and drop in a piece of cut stone, but in no time at all you’ll have a mess. Do yourself a favor and focus on base preparation. If cost is an issue, you can stage your path construction. Install a good solid base and use that as your path until you can pull together the funds for the top material.
Probably the biggest reason homemade paths fail is material selection for a path’s base (or skipping the base prep altogether!).
By far the best material for building a path base is known as Dense Grade Aggregate that is inexpensive and widely available. It is a crushed limestone product that ranges from almost dust sized particles to about half-inch diameter pieces. The angular shape of the crushed material means the pieces lock together securely when compacted. And the wide range of particle sizes allows the smaller pieces to fill the voids between the bigger pieces. This gives you a solid base and minimizes settling.
For most paths, a base of well compacted DGA to about four or five inches in depth is adequate.
Set your base so that the final surface of the path will be about two inches above the surrounding ground to make sure you don’t end up with water puddling here and there. Also, and this is key, make sure your base extends four to five inches beyond the outer edge of your stone or pavers to provide a stable outer edge. If your path is through turf, you can spread a little soil over the outer surface of the base and reseed right up to the stone edge.
You may like: You’re edging the grass around your garden beds wrong. Here are 4 ways to get it right
For concrete pavers that are usually about 2.5-inches thick, you’ll need an edge retaining material — there are both plastic and metal options. For larger cut stone pieces on edge material is generally unnecessary.
As a final step, sweep a little fine limestone dust or sand between the top materials to fill the void and you’re good to go. Then get yourself a cool drink and walk back and forth on your new path a few dozen times. Your neighbors may think you’re a bit odd but trust me, taking those first few steps on your newly built path is like Christmas morning in the garden.
Paul Cappiello is the executive director at Yew Dell Botanical Gardens, 6220 Old Lagrange Road, yewdellgardens.org.
Comments are closed.